Float images left in WordPress editor
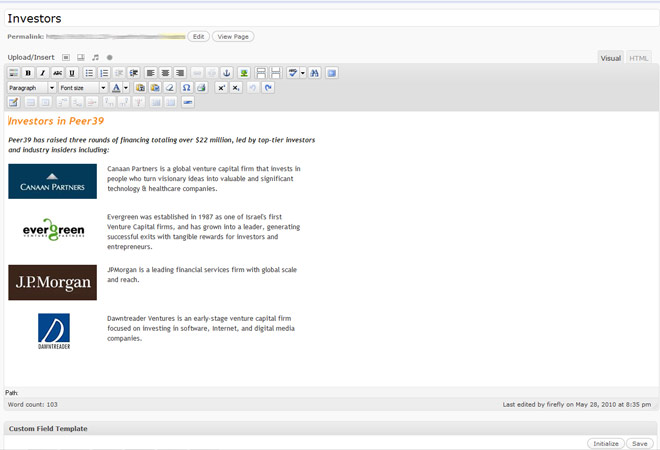
Down below, there is an example with how the final result will look. You can see how the logo images wrap around text nicely. 
Include WordPress default styles and clear the float
When you develop custom themes for WordPress, it is very likely you will replace the whole code from style.css, which is a good practice actually. However, there are some styles that are recommended to be preserved, so we can float elements. The only styles we need to add to our style.css file, are:
.alignleft,
img.alignleft {
	display: inline;
	float: left;
  margin-right: 1.5em;
}
.alignright,
img.alignright {
	display: inline;
	float: right;
  margin-left: 1.5em;
}
.aligncenter,
img.aligncenter {
	clear: both;
	display: block;
	margin-left: auto;
	margin-right: auto;
}
p {
     clear: both;
}
Notice that last line clear: both, clears the floated image inside the paragraph and prevents it to wrap around a previous element in page.
Wrap an image left in WordPress editor
Now, when we edit a page or a post:
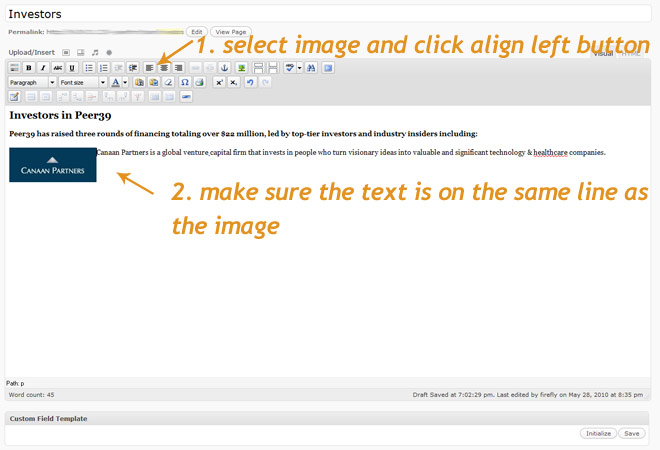
- we need to insert the image
- select it
- click the align left button and make sure it will show up on a single line (that means the image and the text, are located in the same paragraph so they can wrap around). When you click align left button, a class .aligncenter is added automatically.
In this example, I floated images left, but they can be floated right as well, using the same method, by clicking the align right button instead. At this point, I assume you already know how to upload and include images in your WordPress editor. 
Float multiple images left
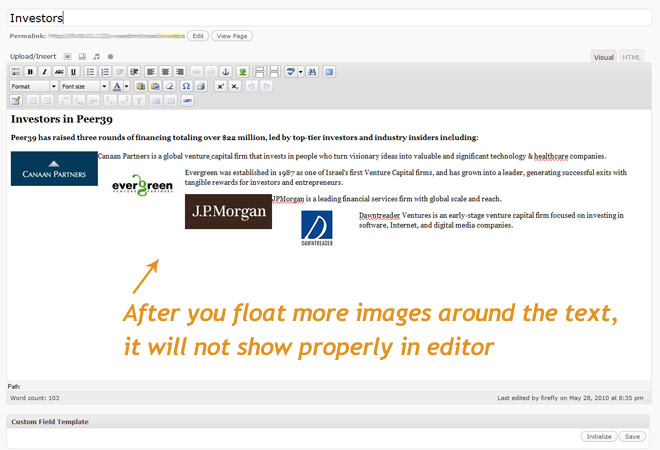
Now we can float more images to the left of the text, using the method described above. They will show up nice within the main website, since we have have specified clear: both for the paragraphs. WordPress TINYMCE editor, uses other stylesheet than the one you use for the main website and it doesn’t know, that floats are supposed to be cleared within paragraphs. 
Customize the TinyMCE WordPress editor
While this step is optional, I find it is very easy for the clients to get a feel of how content looks like before publishing, they won’t get confused and will have great experience while editing their websites.
TinyMCE WordPress editor – the polished final look
Code for WordPress editor styling
First we need to create a CSS file in our theme file. I am gonna create a folder called css, a file name editor-style.css and add the following code in it:
Basic CSS code
/*image float CSS clear*/
.mceContentBody p {clear:both; margin: 0 20px 25px 0}
.mceContentBody p img {margin: 0 20px 25px 0}
Enhanced CSS code
This code is optional only, and the code from above is enough to show up floats properly, but it will look great if we customize the text color for headings, normal text and basic links; the width of the content will match the one of the website as well.
/*general CSS text and links styles for WordPress editor*/
.mceContentBody { color: #333; font-family: Trebuchet MS, Verdana, Arial, Helvetica, sans-serif !important; font-size: 12px; line-height: 18px; width: 590px; }
.mceContentBody h1, .mceContentBody h3, .mceContentBody h4, .mceContentBody h5, .mceContentBody h6 {color: #1f201c}
.mceContentBody h2 {color: #f78a20}
	.mceContentBody h2, .mceContentBody h4 {font-style: italic}
body.mceContentBody a { background: none; color: #f78a20 !important; text-decoration: underline; }
/*image float CSS clear*/
.mceContentBody p {clear:both; margin: 0 20px 25px 0}
.mceContentBody p img {margin: 0 20px 25px 0}
Load our custom CSS editor file
[Update: starting with wordpress 3.0 editor-style.css is part of theme and is not necessary to load it using the code from below (make sure you enable the editor-style.css by adding add_editor_style(); in functions.php). However, the following snippet is useful if you still use an older version of WordPress.] In order to make it look that way, we need to add this snippet to functions.php file, located in our theme folder. Don’t forget to edit the link inside to match the location of our custom editor CSS file.
//CUSTOM WORDPRESS EDITOR STYLE
function custom_editor_style( $url ) {
  if ( !empty($url) )
    $url .= ',';
  // Edit path to match the custom style location. Currently the file is located in active theme, in a folder called css.
  $url .= trailingslashit( get_stylesheet_directory_uri() ) . 'css/editor-style.css';
  return $url;
}
  add_filter( 'mce_css', 'custom_editor_style' );
// END CUSTOM WORDPRESS EDITOR STYLE
Thanks to Matty for the code snippet. You can learn more about this method on his website.
Your feedback
Please let me know how everything works for you, using the comment form below.


Wow.. Thanks a million for this code. I was beating my head against the wall for about an hour trying to get those images to display properly — until I found your site!
This works beautifully. Thanks for the code!
I am glad it helped you. I was in the same situation until I decided to do it properly.
thanks for this useful info, brilliant to find a simple and effective solution after lots of searching. the clear: both does the trick – but maybe just a little too well! i can only have one section of text next to the image as any new paragraph gets shifted underneath. did i miss something?
That happens naturally as the image itself is placed within the paragraph and in WordPress you cannot have a paragraph within a paragraph.
For what you need to accomplish it needs some CSS work.
thanks again for taking the time to explain further, onto the CSS it is!
thanks for this elegant solution to a very common and real problem for clients!
I tried the code. It works for the align left in the editor tiny MCE.
But, is it brokes the align right, center part.
I can’t type any text beside the picture anymore when I select align left option.
Regards
@Andy tested the method again and align right works the same like the align left.
Try to use navigational arrows from keyboard to move easier in text and aside image. As last resort, go in HTML mode, go in desired place and type the text there; after you can go back in WYIWYG editor.
Thanks for your answer Lucian.
But I think I found the problem that JameF also found.
“thanks for this useful info, brilliant to find a simple and effective solution after lots of searching. the clear: both does the trick – but maybe just a little too well! i can only have one section of text next to the image as any new paragraph gets shifted underneath. did i miss something?”
I am unable to put the text more that one line on the right of the image. It’s not the same which I can do before I plug the hook and css stuff.
Regards,
I see the need. Since we cannot have paragraphs within paragraphs, what I would do, is to select the text that needs to be on a separate line, click the underline button (U – we don’t really needs this for something else) and in CSS, specify:
p u {display: block; margin-top: 10px; text-decoration: none}
Now any underlined block of text, will display on a separate line, with a margin-top of 10px (or whatever you specify) and no underline. #fakeparagraph
Hi Lucian, I don’t think this is what Andy meant. I actually have the same issue as her, which is to have as much text that needs to wrap around the image (left or right) to do so, regardless of how many paragraphs that text consists in (there is the very issue).
It is no problem to get first paragraph to wrap, but whenever the image is bigger than the length of the first paragraph, the second paragraph is then automatically sent below the image, leaving a huge and ugly blanck in between.
The issue is therefore not to tell which text must be on a separate line as I understand you suggest, but exactly the opposite, to tell which text must remain wrapping around the image and not be sent to a separate line. Normally, we should even not have to tell which text must do what, but just have whatever text is needed to wrap, to just wrap!
If my understanding is correct, this behavior is due to the hidden codes the WordPress editor is automatically feeding in at the start and end of each line and, as you say, on the fact we cannot have paragraphs within paragraphs.
Still, there must be a way around!
Any crossover browsers working solution is more than welcome.
You Sir, are a frickin Genius!!
I have been battling the WP gallery all day long, I wish I found you 10, 12 hours ago. At least my obsession is over and i can sleep tonight 🙂
Thanks so much!!
Dave
Anyone found a solution for Dave’s question? Absolutely fantastic code but the white space tends to be an eyesore.
Anyone found a solution to Dave’s question? Absolutely fantastic code but the white space tends to be an eyesore.
Thanks pal you saved my day..:)
Fantastic! Looking very hard for a solution like this!
I used my existing css from the wordpress twenty twelve template and commented out the .align parts and replaced them with your version and it works……….but, I have no gaps between the images.
I have no experience in css / worpress style editing, but is there an easy way to set a standard gap between images?